
Connecting Claude
Claude connects to nQuest as a custom connector. There is no plugin to create and nothing to fill in beyond a name and your server URL, so this is a shorter setup than ChatGPT.
Before you start, copy your nQuest server URL. Open Preferences (macOS) or Settings (Windows) in the nQuest desktop app, go to the MCP tab, and copy the Server URL.
Step 1: Open Claude settings
Section titled “Step 1: Open Claude settings”Select your account at the bottom of the left sidebar, then choose Settings.
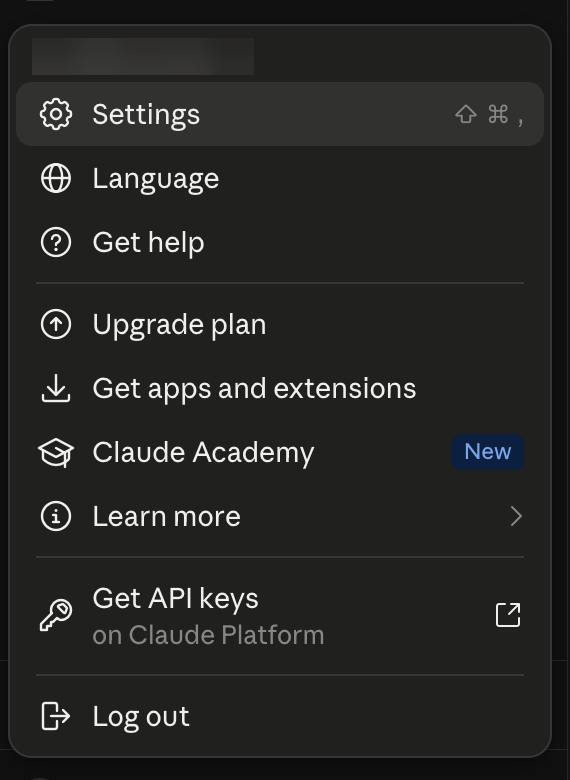
The Claude account menu, with Settings
Step 2: Start a custom connector
Section titled “Step 2: Start a custom connector”Go to Connectors in the settings sidebar, then select Add and choose Add custom connector.
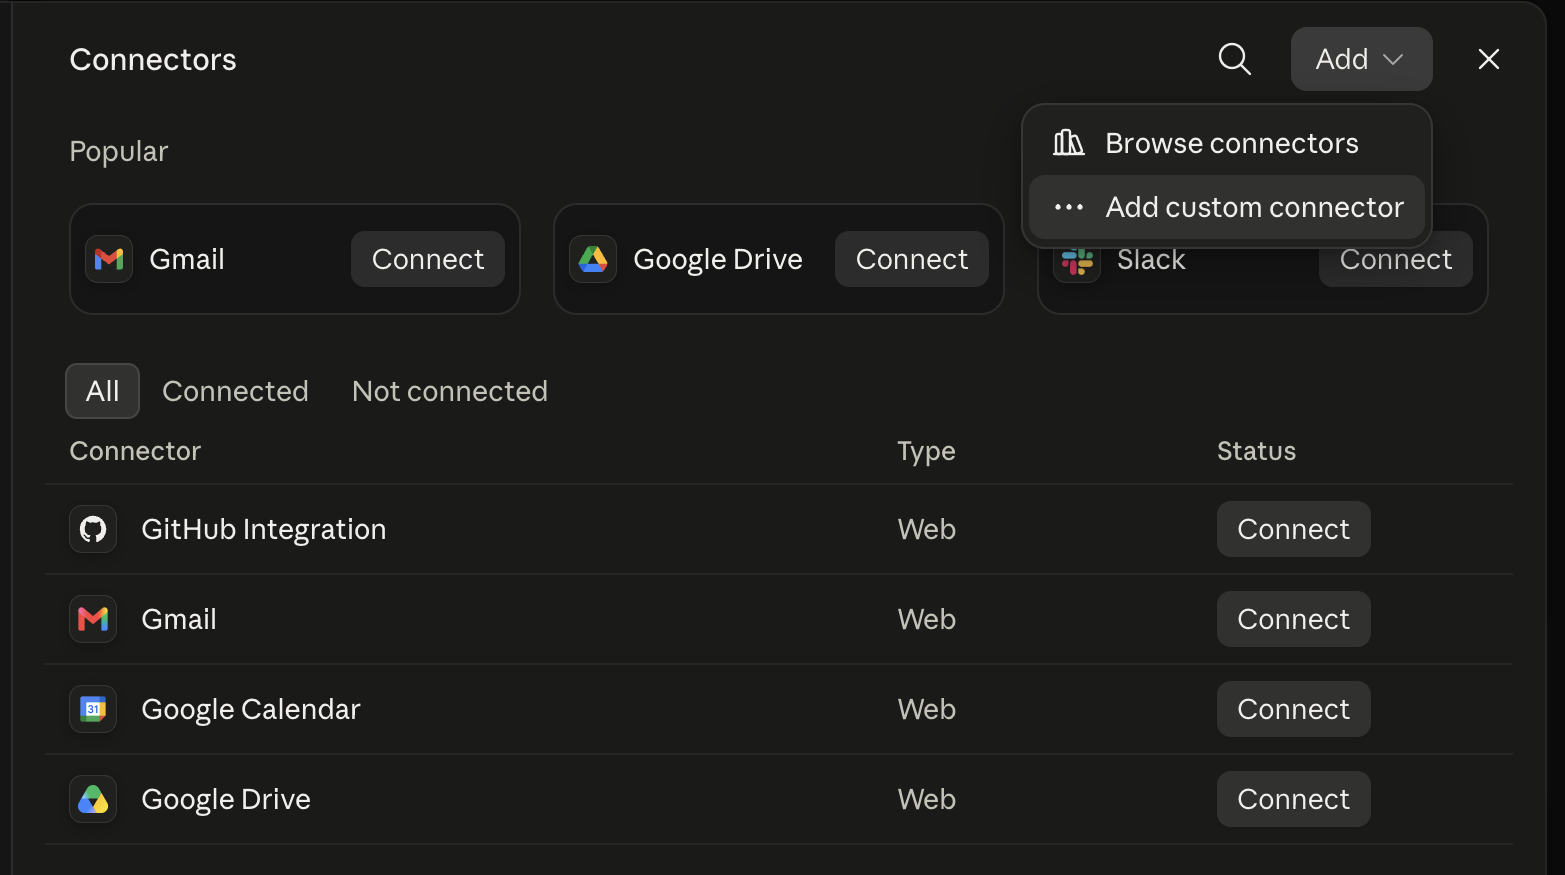
The Add menu on the Connectors screen, with Add custom connector
Step 3: Fill in the connector
Section titled “Step 3: Fill in the connector”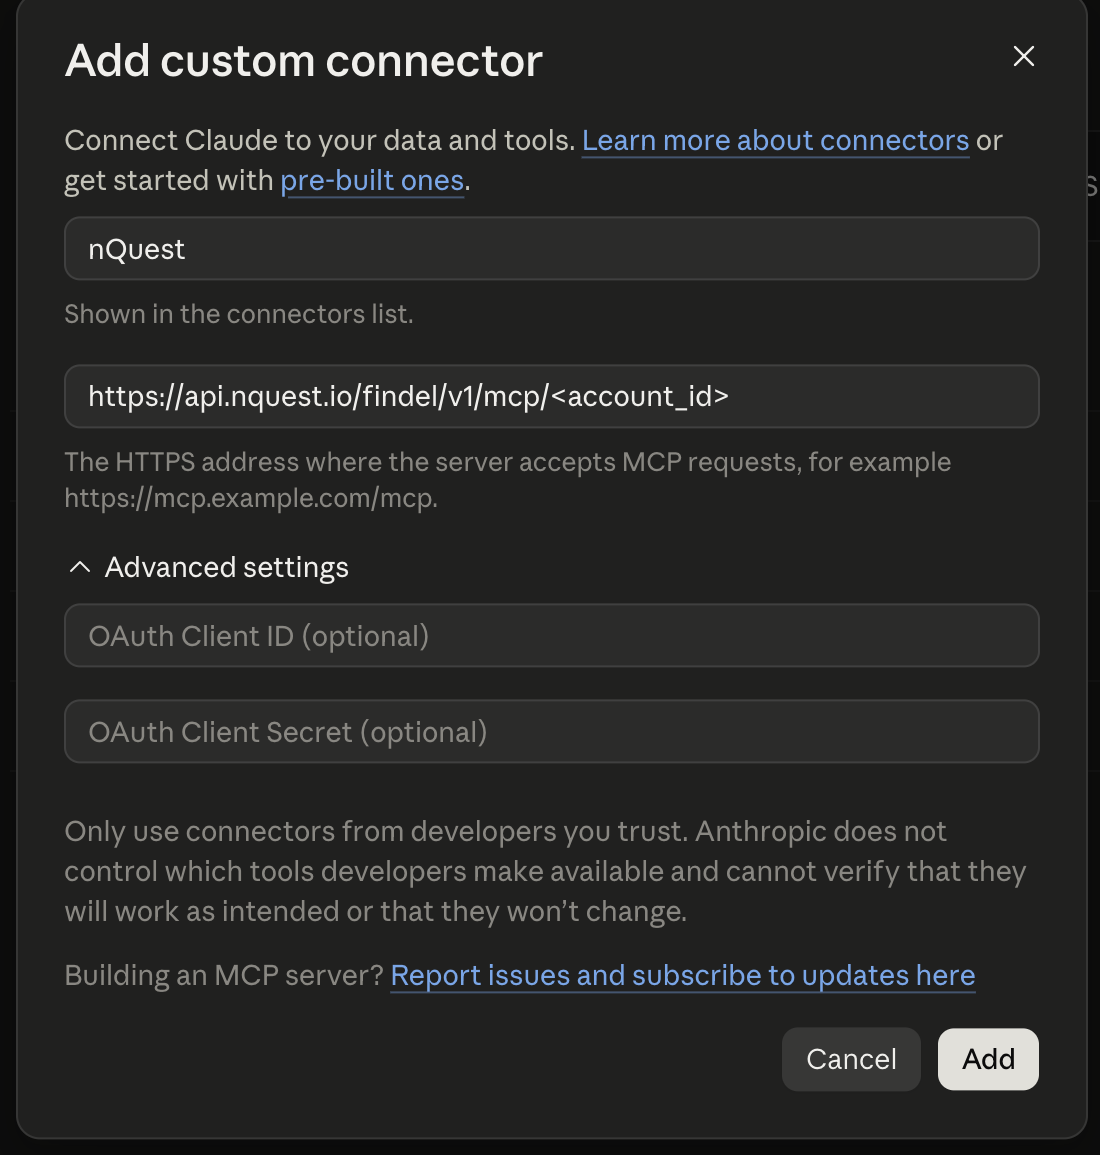
The Add custom connector dialog filled in
| Field | What to enter |
|---|---|
| Name | nQuest |
| Server URL field | Your server URL from the nQuest MCP tab. |
| OAuth Client ID | Leave blank. |
| OAuth Client Secret | Leave blank. |
Then select Add.
Claude warns that it cannot verify what a custom connector does. That warning is about connectors in general: nQuest is read-only over MCP and cannot change your cases.
Leave both Advanced settings fields empty. Claude discovers the client details from your server URL, and filling them in by hand will stop the connection working.
Step 4: Connect
Section titled “Step 4: Connect”nQuest now appears in your connectors, not yet signed in. Select Connect.
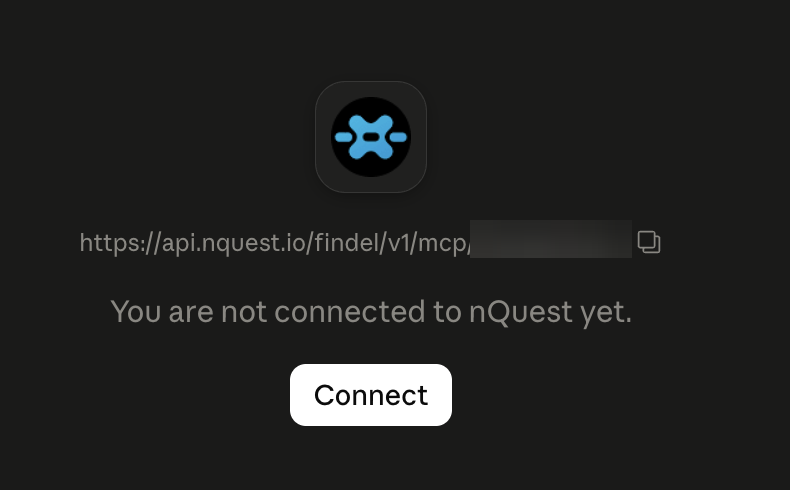
The nQuest connector with a Connect button
Step 5: Sign in and approve access
Section titled “Step 5: Sign in and approve access”Sign in with your nQuest account, the same way you sign in to the desktop app.
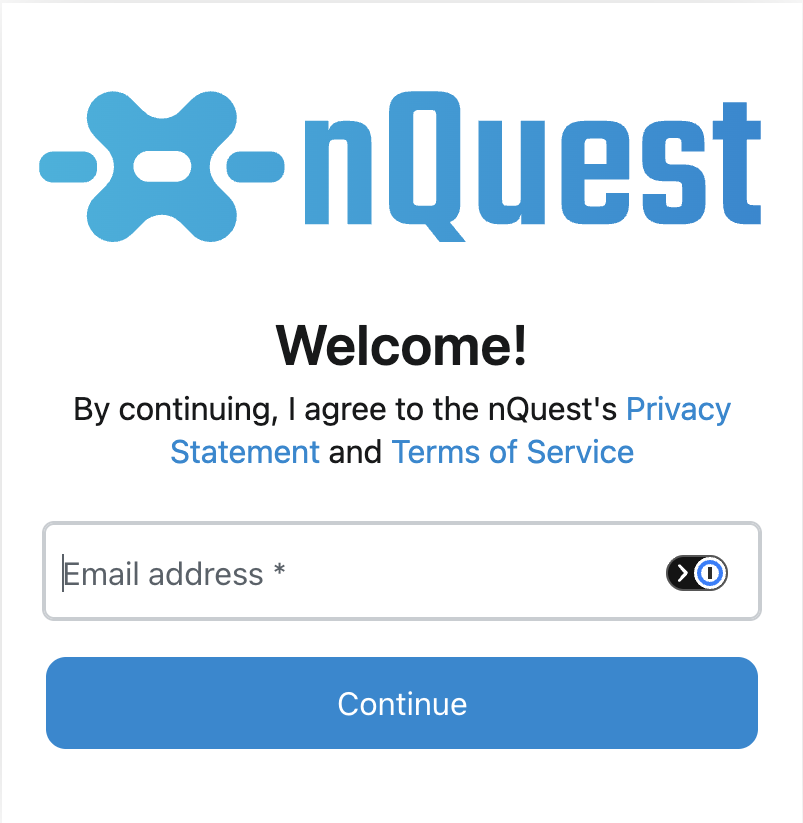
The nQuest sign-in page
nQuest then asks what you are granting. Select Authorize.
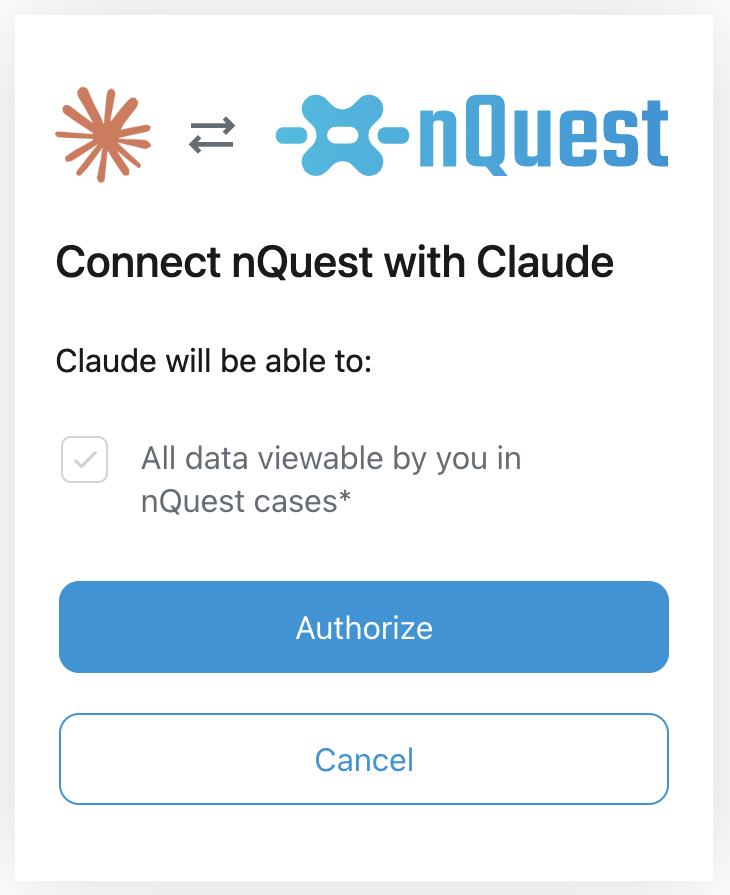
The nQuest authorization prompt for Claude
Once you authorize, Claude is connected. You will not be asked again unless you revoke access or the connection expires.
Step 6: Choose when Claude may use each tool
Section titled “Step 6: Choose when Claude may use each tool”The connector’s page lists every nQuest tool Claude can reach, each set to Needs approval to begin with. Claude will ask before it uses one.
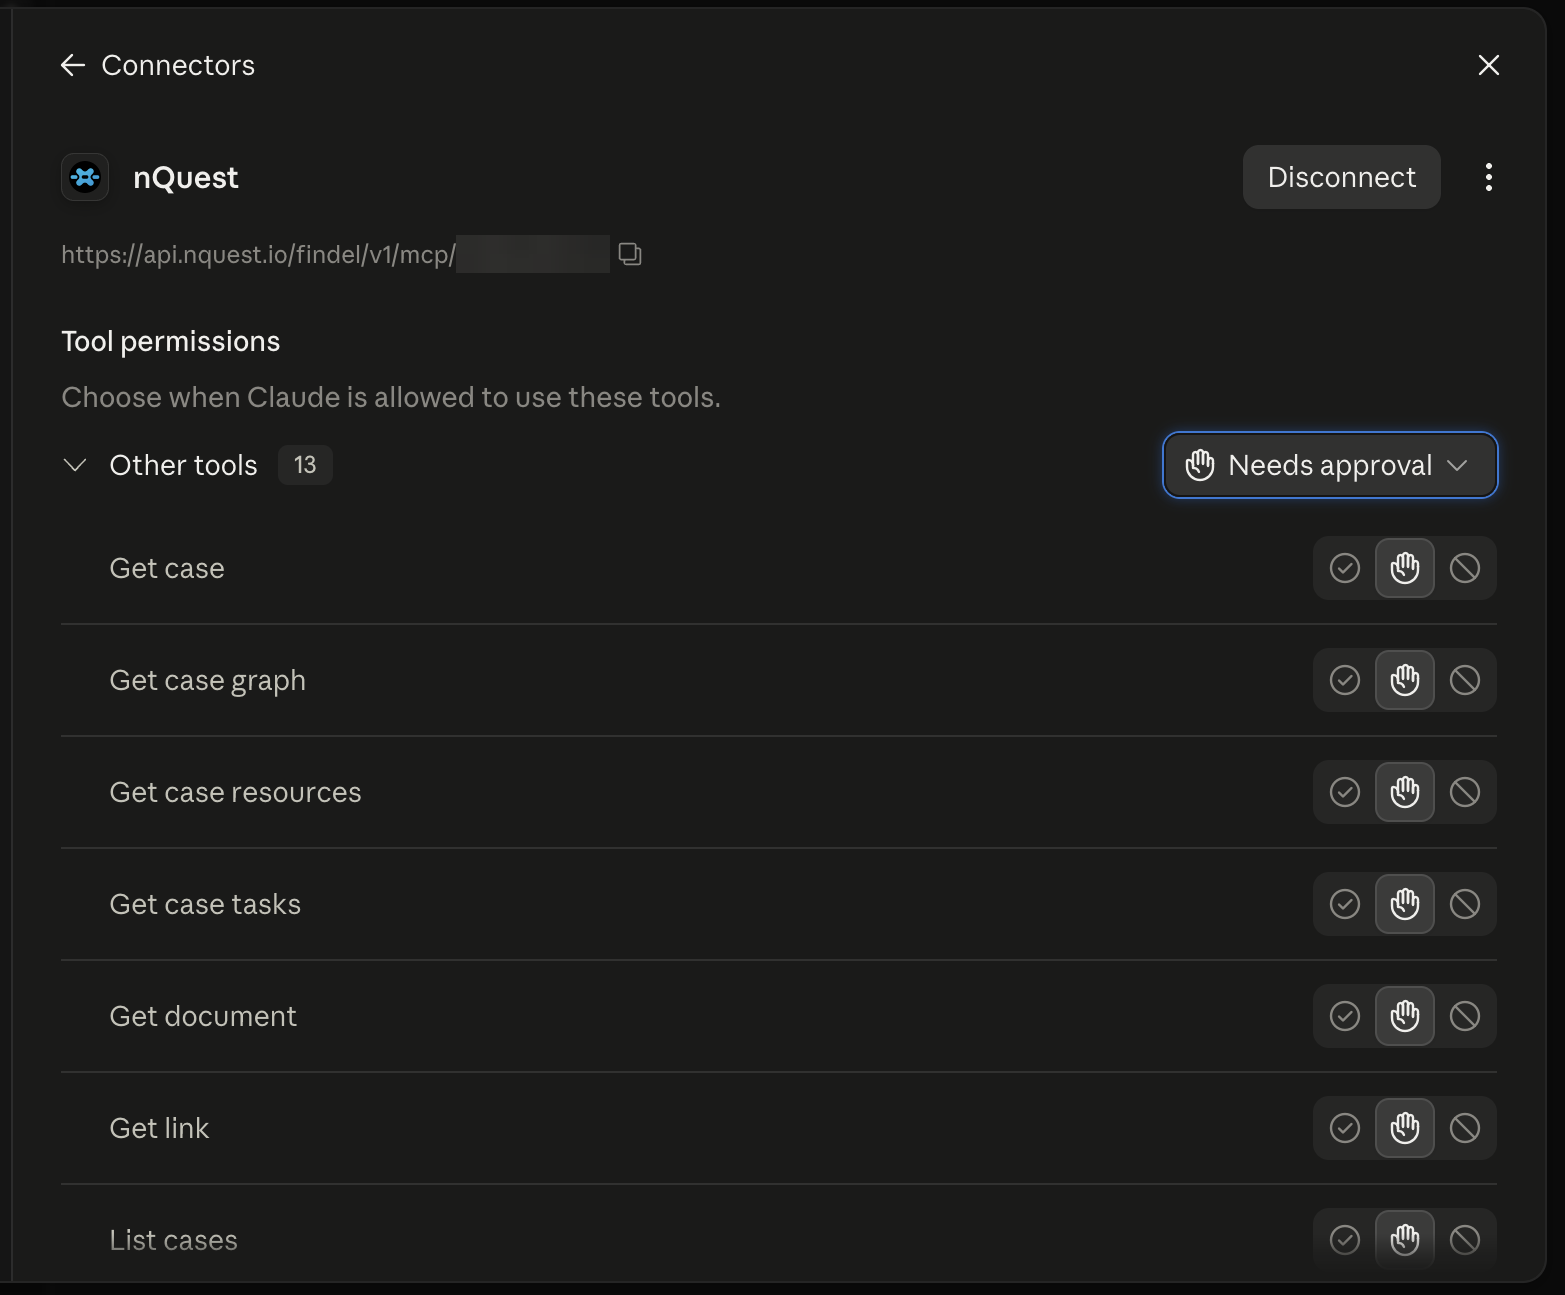
Tool permissions for the nQuest connector, each tool set to Needs approval
You can leave them as they are and approve each request, or set the tools you use often to run without asking. Every nQuest tool is read-only, so allowing one lets Claude read that data without prompting rather than change anything.
Check it works
Section titled “Check it works”Start a new chat and ask Claude whether it can see your nQuest connector. It should confirm the connection and describe the tools it can reach, such as searching cases and reading documents.
Managing the connection
Section titled “Managing the connection”To disconnect Claude, open the MCP tab in nQuest Preferences and revoke it there. Claude cannot renew its session or sign back in without your approval, though it may still reach your data for a few more minutes until the access token it already holds expires.
Disconnect on the connector’s own page in Claude does the same from the other side.
Reconnecting after revoking
Section titled “Reconnecting after revoking”Revoking in nQuest does not remove the connector from Claude, so it stays in your list and stops working. To reconnect, open it from Connectors and select Connect, then sign in and authorize again as in Step 5.