
Case Library
Open Libraries to find your cases, review your workload, and manage assignments. The library has two areas: a case table at the top, and a summary or selected case below it.
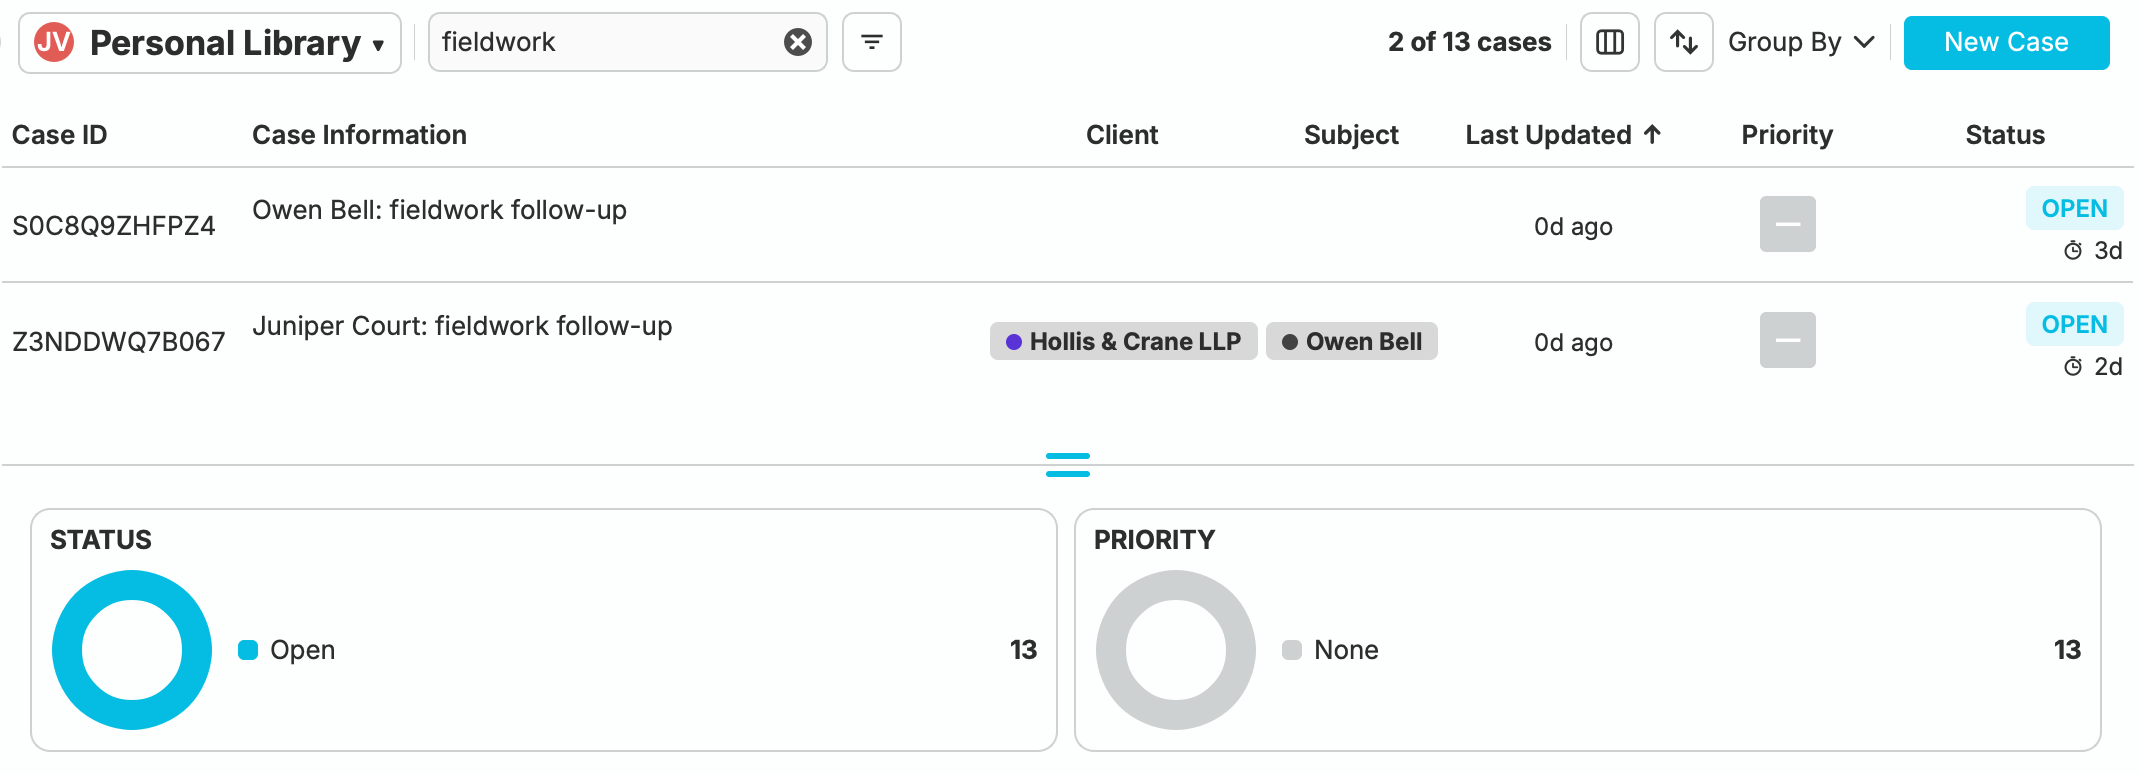
Personal Library with a filtered case table above the status and priority summaries
Each row represents one investigation. Case Information brings together its description and available case metadata; the other columns help you compare cases by status, priority, activity, or assignment.
Select a row to open Case Details beneath the table. This does not open the evidence workspace. Choose Open Workspace in the case header when you want to inspect its graph, records, and sources.
Drag the divider between the table and the lower area to give either one more space. In case details, use the expand control for a larger view, or the × control to deselect the case and return to the library summary.
Library Tools
Section titled “Library Tools”The toolbar contains the library selector, search and filters, column and sort controls, Group By, and New Case. On narrower windows, some controls appear as icons or open in a popover.
Contexts
Section titled “Contexts”The library selector determines whose work you are viewing: your Personal Library or a group library. A group may own cases or contribute to someone else’s cases.
Switching from Personal Library to Cedar & Vale Team Library and back
Your selected library is also your working context. For example, to manage a team’s contribution or delegates, select that team’s library first. A case’s status and priority can differ between its owner and contributors, so check the selected library before changing them.
Seeing a group library does not necessarily give you permission to create cases or manage its workflow. The available actions follow your role in that group.
Columns
Section titled “Columns”Open Columns in the toolbar to choose which information the table displays. Use a small set of columns that helps you make decisions; you can inspect the rest in case details.
Filters
Section titled “Filters”Type in Search cases… to narrow the current table. Open Filters to refine it by the available status, priority, assignment, tag, and other criteria. The case count shows how many rows match.
Use Reset Filters to clear the filters and search text. Filtering changes the view, not the cases or their permissions.
The library’s search field searches the current library view. Use Case Search in the sidebar for a broader search, including archived cases you are allowed to see.
Grouping
Section titled “Grouping”Use Group By to arrange matching cases under headings, such as status or delegate. Choose None to return to an ungrouped table.
Sorting
Section titled “Sorting”Click a sortable column heading to change the order; click it again to reverse the direction. The Sort control provides the same choice without needing to display the corresponding column.
Workload Summary
Section titled “Workload Summary”With no case selected, the lower area summarizes the current library. Status and priority charts show its workload; group libraries can also show delegate workload. These summaries describe the library, not just the rows left by a text search.
Select a summary category to explore the relevant cases. To inspect one case instead, select its row in the table.
Ready to begin an investigation? See Creating a Case.