
Entity Definitions
Entity definitions help standardize what information is collected about entities across the nQuest platform.
To manage entity definitions, a user must be either a library administrator or a global administrator.
Entity Types
Section titled “Entity Types”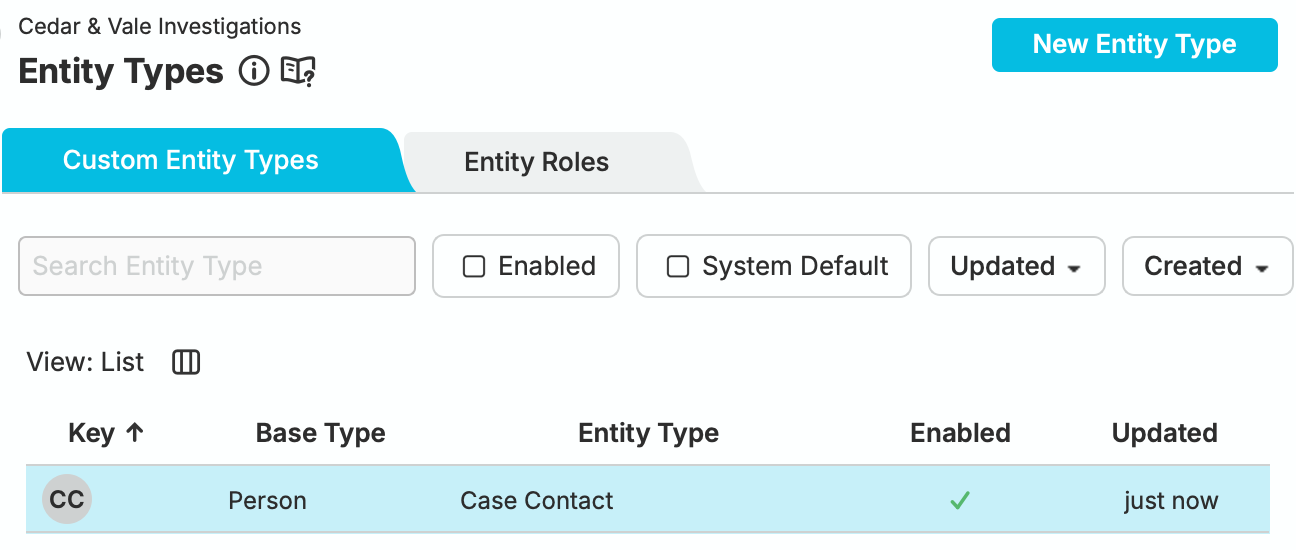
Entity Types configuration with the custom Case Contact type selected, based on Person
Open Entity Types in the sidebar. The Custom Entity Types tab defines types based on an existing base type, with your own fields and roles. The Entity Roles tab manages the roles used by those definitions.
Base Entity Types
Section titled “Base Entity Types”Any available base entity type can be subclassed to create a new entity type. For more information on base entity types, see Entity Node Base Types.
Entity Type Operations
Section titled “Entity Type Operations”Creating a Custom Entity Type
Section titled “Creating a Custom Entity Type”Select New Entity Type, enter a name, and choose a Base Type. Set the icon key, then use Add Field and Add Entity Role for the information your team needs. Select Create to save the definition.
Editing a Custom Entity Type
Section titled “Editing a Custom Entity Type”Select a type from the table to open its details on the right. Edit its properties and field definitions using their controls. The inherited base fields are shown separately from custom fields; locked controls cannot be changed here.
Deleting a Custom Entity Type
Section titled “Deleting a Custom Entity Type”Disable the type and save that change first. Then use Delete Entity Type in its details panel and review the confirmation.
Deletion converts existing entities in open and closed cases to their base type. Custom field values and role assignments are preserved as ad hoc fields and roles. This conversion cannot be undone; leave the type disabled if you only want to stop new use.
Entity Type Roles
Section titled “Entity Type Roles”Entity Type Roles can be added to more than one entity type (for example, a Suspect role could apply to both an Employee and a Customer).
In the selected type’s Entity Roles section, open Add Entity Role. Choose an existing role, or Create New Entity Role and enter its name. Configure a role here before assigning it to a node in a case.
In this example, Case Contact describes the kind of person record; Witness describes that person’s relationship to a particular case. See Entity Roles for the case-level display and visibility implications.
Entity Type Properties
Section titled “Entity Type Properties”Entity types have a name and a key that are used to identify the entity type in the system.
Disable a type to prevent it from being added to new cases.
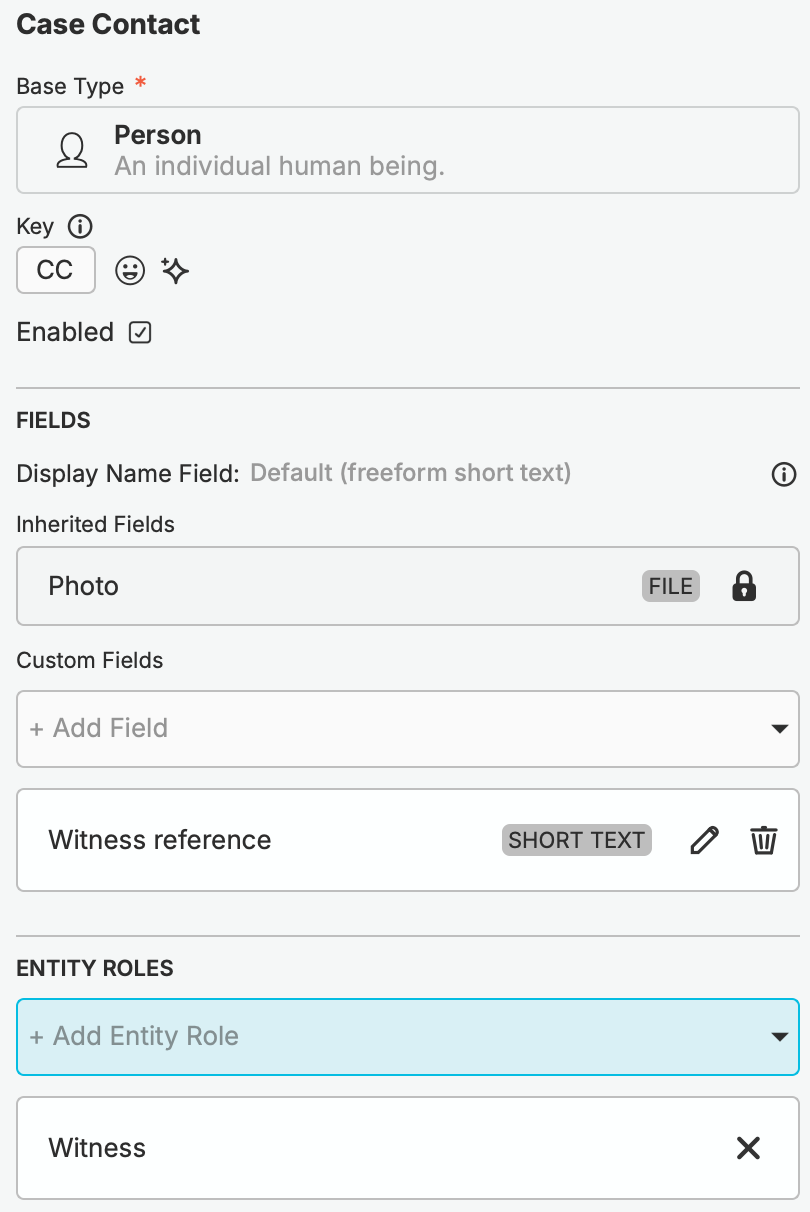
Case Contact definition showing its Person base type, CC key, enabled state, inherited Photo field, custom Witness reference field, and Witness role
Entity Type Key
Section titled “Entity Type Key”The entity type key is a unique identifier for the entity type. It is either a single emoji or up to two alphanumeric characters. This key will appear as iconography on nodes to help indicate the type of entity.
After typing the entity type name, you can select an emoji or type a two-character key. You can also use the autogenerate button to create an LLM-generated selection if AI features are enabled for your account.
Field Types
Section titled “Field Types”| Field Type | Appearance | Ad-Hoc Allowed | Custom Allowed | Description |
|---|---|---|---|---|
| Checkbox |  |
☑️ | ☑️ | A checkbox that can be either true or false. |
| Dropdown | 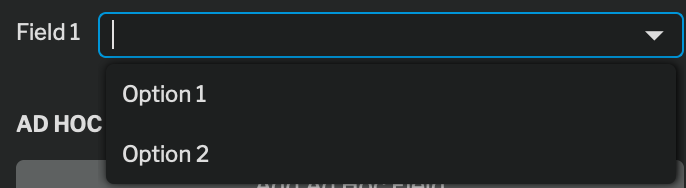 |
❌ | ☑️ | A dropdown with a defined set of options. |
| Date |  |
☑️ | ☑️ | A single date (including or not including time). |
| Date Range | 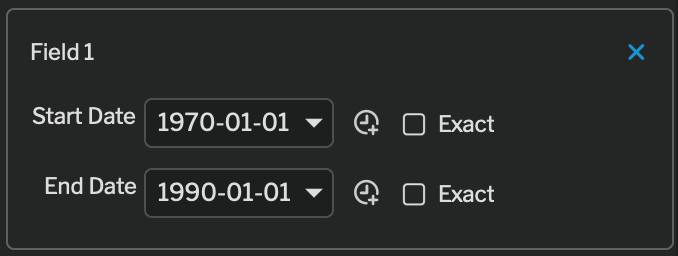 |
☑️ | ☑️ | A single date range (including or not including time). |
| Short Text |  |
☑️ | ☑️ | A single-line text field. |
| Text Box | 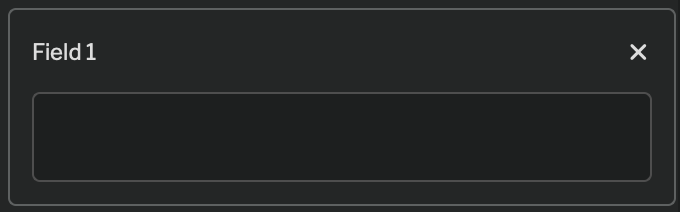 |
☑️ | ☑️ | A free-form text field. |
| Currency |  |
☑️ | ☑️ | A currency field. |
| Decimal |  |
☑️ | ☑️ | A decimal number. |
| Integer |  |
☑️ | ☑️ | A whole number. |
| Float |  |
☑️ | ☑️ | A floating-point number. |